**To make it interesting, I'll be placing before & after pictures throughout this post of backgrounds I've edited or replaced.**
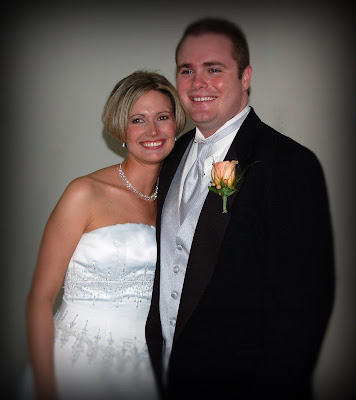
 This was done by cloning out the distractions in the background, cropping, & putting a vignette around the photo.
When replacing the background of any picture (like the ones above and below), it's important to remember that the first step is always to duplicate your image in Photoshop. This will allow you to easily slip a background in behind the photo, and you can even go back & erase parts of the background to show parts of the original picture you may not have realized you needed.
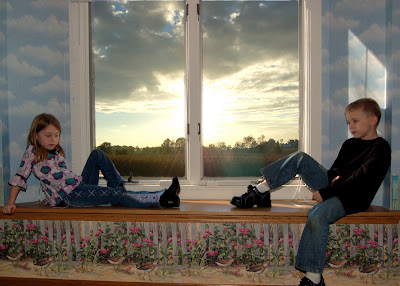
 By lassoing & deleting the background, I was able to replace it with a very festive background and border.
The next step is to select your subject(s) that you want to remain in the photo. I typically do this by using a combination of the magnetic lasso tool (shortcut L) and the regular lasso tool. The magnetic lasso will "stick" to the outer edge of a person/object. The only stipulation to this tool is that I usually have to zoom in pretty close to get an accurate selection.
After I've gotten most of what I want selected, I simply hold down the shift key while continuing to lasso parts that I missed, or parts that I couldn't get with just one grab. If there happens to be a portion that I lassoed & didn't mean to, I simply hold down the option key and it will deselect the portion I didn't need.
 The magnetic lasso tool makes photos like this a breeze.
This photo has also been brightened by using levels in Photoshop.
This may sound just a bit backwards thus far... We're cutting out the background, right? Why are we selecting what we want to keep in the picture? Because for me, it's always been easier to select the subject(s) rather than the background. That is simply my personal preference. And after all the selecting is said & done, we then go to the "select" tab and "deselect" (or Apple + D if you like the shortcuts) then simply delete your background.
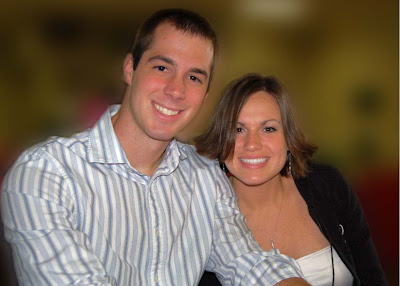
 Use the lasso to select the couple, deselect for the background then Gaussian blur to your liking.
There is another trick to editing backgrounds of photos, and that is by selecting & Gaussian blurring them to your liking, or simply cloning small pieces out. A few photos above & below show what pictures look like when these techniques are used.
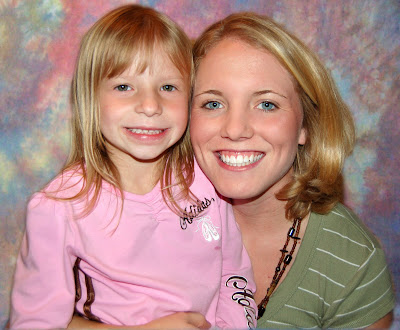
The eyes were also popped by using the magnetic lasso to select just the eye and sharpening with the unsharp mask tool.
 The photo was cropped, then taken a step further by replacing the background - no green screen needed!
The most important thing when replacing a background is to take your time. At first it can be quite tricky - and frustrating. It seems especially hard if you only have a lap top touch pad... But don't worry! You'll get the hang of it relatively quickly. I still only have a touch pad - no mouse, so don't think it takes any special equipment other than a steady hand to get a similar effect of these pictures.
 A really great photo after a few simple edits.
It was cropped, brightened with levels, background selected & Gaussian blurred.
Finally, don't be afraid to combine techniques you've already learned with the new stuff... You should still correct the brightness & color of your photo by manually adjusting the levels in Photoshop. You can also still get rid of the shadows by using the clone tool - you can even extend parts of clothing or add hair with the clone tool.
Don't hesitate to let me know if you have any questions about replacing or fixing backgrounds. If there's something you just can't seem to get yourself, send it to me & let me have a crack at it. I'm always more than glad to help in any way I possibly can.
I hope this information has been useful, and please let me know if there's anything you'd like to learn more about. Whether it be Photoshop or any other aspect of picture editing, I'd love to know what you want to know!


5 comments:
Great tutorial! Thanks.
wow, can I just down load all that information from YOUR brain and plug it in and upload it to MINE?
This was very interesting and infomative, but now my head is spinning, I can't focus! [my mind is out of focus like so many of my pictures are!]
Great instructions! I find Photoshop very intimidating! So much stuff!! I will try these tips, though! Thanks!
Wow! The effect is amazing. I'm a photoshop lover (: Great stuffs.
Love the idea of replacing background. it enhances the photos more.
Post a Comment